How to Split Stereo Tracks in Audacity: Are you struggling to manage stereo tracks in your latest audio projects? You’re not alone! Discover the latest tips and tricks in the 2024 version of Audacity, the renowned free audio editing software. This Audacityguide article addresses a common challenge many face – splitting stereo tracks quickly and efficiently.
Imagine being able to easily separate your stereo tracks, enhancing the quality of your audio projects like never before. With these three incredibly simple methods, you’ll save time and elevate your audio editing skills to a professional level.
Keep reading to unlock the quickest ways to split stereo tracks in Audacity 2024. Dive into the world of hassle-free audio editing today and transform your creative process.
On this page, you’ll learn about the following:
How to Split Stereo Tracks in Audacity
When you split a track, Audacity makes “clips.” A clip is just a piece of a track. A simple track split can be done in three different ways.
Use the keyboard shortcut.
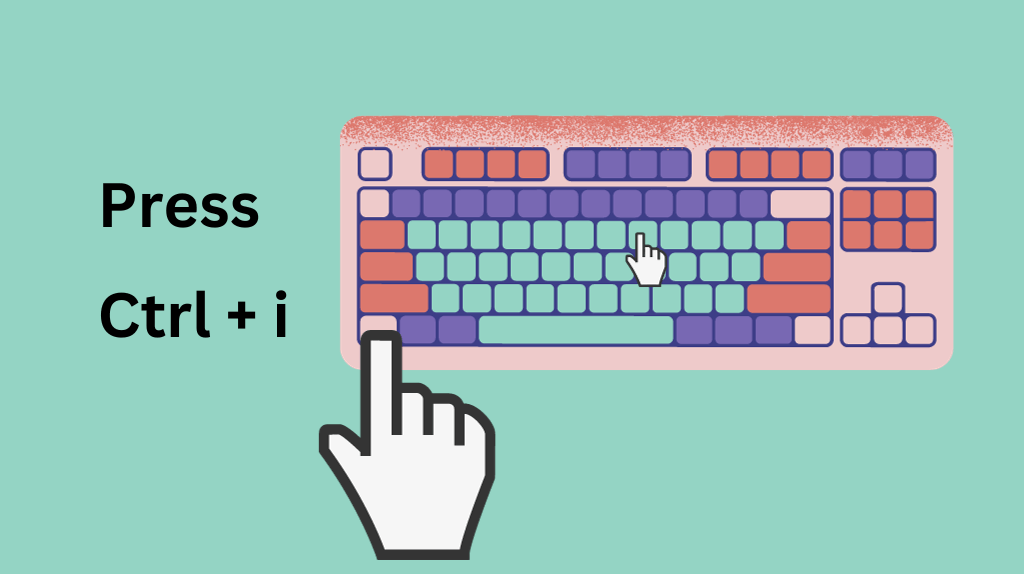
The quickest way is using the keyboard shortcut. To do this:
Move your mouse to the spot on the timeline where you want to split the track in Windows. Hold down the Ctrl key and press the “i” key on your keyboard at the same time. Do the same thing with macOS. Audacity will split your tracks into two clips. You can change the names of the two clips or move them around in Audacity however you want.
Use the Menu Bar
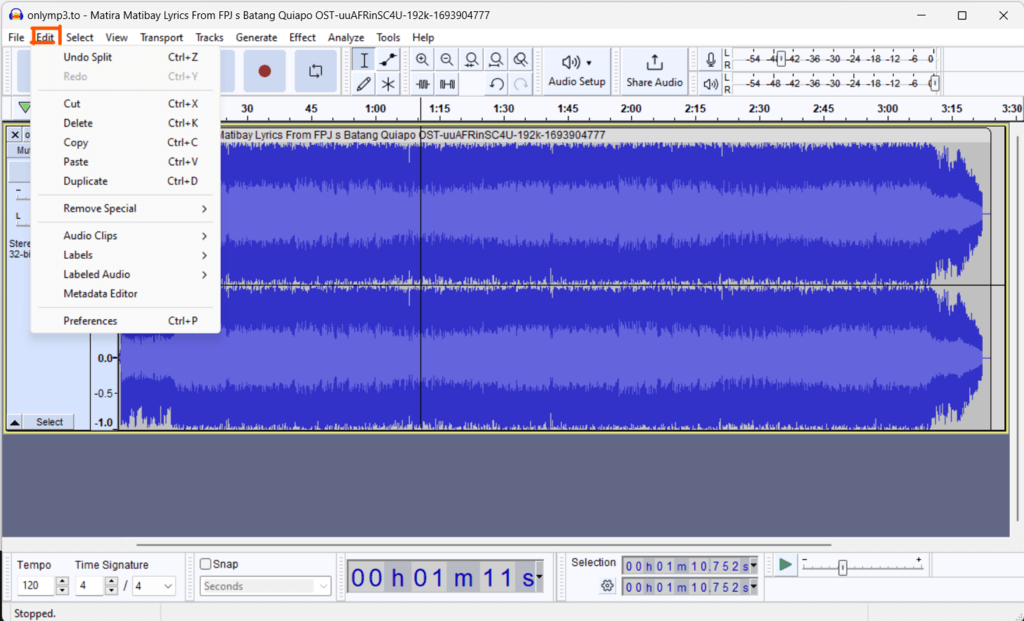
Move your cursor to the desired position, then click Edit > Audio Clips > Split. This will make two tracks, one for the main and the other for the side.
Right-click the track and select Split Clip. To do this, position your cursor to the spot you want to split, then on your mouse, press the right click and choose Split clip.
Drag the Separated Track
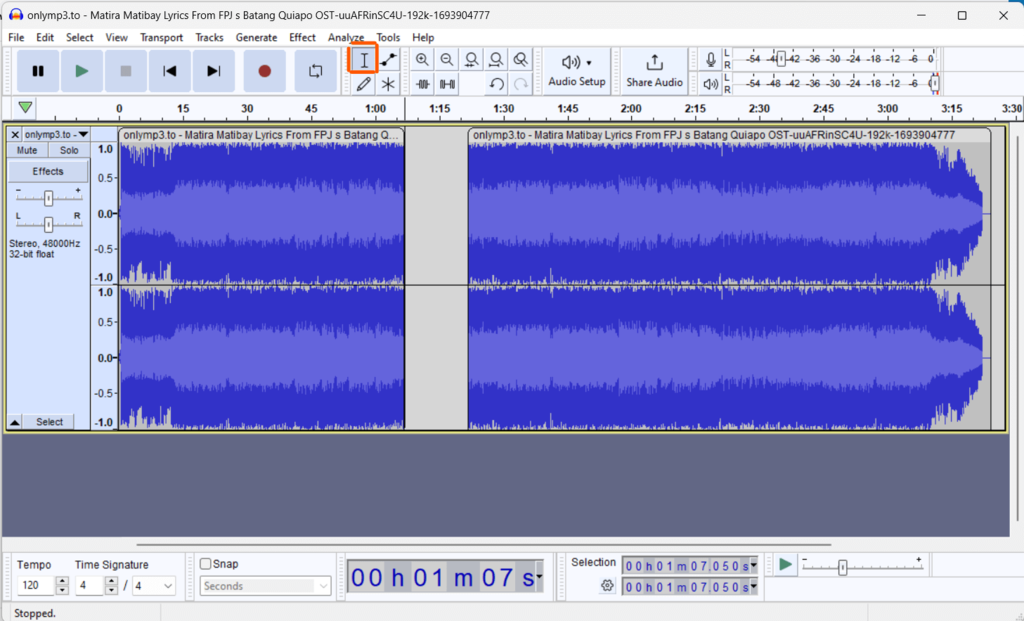
If you want to drag the separated audio apart. You can use the ‘Time Shift Tool’ highlighted in the image above. Drag the separated track by holding the left mouse button.
You can also check out the video below for a visual step-by-step guide.
How to Control the Left and Right Channels in Audacity
If you want your audio edits to sound professional, you must know how to change Audacity’s left and right channels. You can improve the sound quality, balance stereo recordings, and make dynamic audio effects if you control these channels properly.
Changing the volume
When the tracks are split, Audacity usually names the top track the left channel and the bottom track the right channel. The gain slider is in the track control panel of the left channel track and can be used to change the volume of that channel. Slide it to the left to lower the volume and to the right to raise it.
Do the same thing for the right channel. You can change the volume of the right channel track by moving the gain slider in the track control panel. Make sure your changes are perfect. You can hear the changes by playing the tracks. Make any necessary changes to the sliders until you’re happy with how the left and right channels are balanced.
If you want to, you can merge the tracks back to stereo. To turn the two mono tracks back into a stereo track, click on the left channel track, hold down the “Shift” key, and then click on the right channel track. This will select both tracks.
After that, go to “Tracks > Mix > Mix and Render to New Track.” This will make a new stereo track that has your volume changes made to it. To keep an Audacity project file, click “File > Save Project.” To save your edited audio in a different format, like MP3 or WAV, click “File > Export.”
Thats it! You can control and change the volume of the left and right channels in Audacity separately. This will give you more options for balancing and perfecting your stereo tracks.
Adding effects
You can give each channel its own set of effects. Here is a step-by-step guide on how to use Audacity to add effects to only the left and right channels:
Add an effect to the left channel.
- Just click on the track on the left to choose it. This is the top track most of the time.
- Select “Effect” from the main menu.
- Pick the effect you want to use, like reverb, equalization, or compression.
- In the dialogue box, change the settings for the effect. Then, click “OK” or “Apply” to apply the effect to the left channel.
Put the effect on the right channel.
- Pick the right channel track, usually the bottom.
- Do it again: click “Effect,” pick the effect you want, and change the settings.
- Give the right channel the effect.
Save or send your changed file.
- Click “File > Save Project As…” to save your work so you can change it later.
- Click “File > Export” and pick the format you want to save your edited audio in (for example, MP3 or WAV).
Why Splitting Stereo Tracks is Important in Audio Editing
If you are wondering why you need to split track in audio editing, here are some important reasons.
- Better control over sound elements: Different sounds or instruments can be put in a stereo track’s left or right channel. By splitting these channels, editors can separate these elements and change them separately. For example, you could change a guitar’s volume in the right channel without changing the volume of the vocals in the left channel.
- Changes to balancing and panning: You can balance the sound once the stereo tracks have been split. One side of the stereo track may be louder or have more noise than the other. You can adjust the levels of each track separately to make the sound more balanced by splitting the tracks.
- Reducing noise: You can eliminate or lessen unwanted noise or interference in one channel by splitting the tracks. This does not affect the cleaner channel. This selective editing makes the final audio clearer and better.
- Creative sound effects and panning: There are creative ways to split stereo tracks. For instance, you could use an effect on only one channel for artistic reasons or pan the sound more dramatically from one side to the other to make the listening experience more immersive.
- Getting ready for mono compatibility: There are times when audio needs to work with only one channel, like when it comes to radios or public address systems. When you split and carefully mix stereo tracks, the sound stays clear and balanced when played in mono.
- Making it easier to use advanced editing techniques: Having separate tracks lets you apply effects like equalization and compression to each channel in a way that works best for your editing needs.
- Backing up and restoring: After splitting into restoration projects, old recordings with problems or imbalances in one channel can be fixed more effectively. This is also very important for archiving, where the sound quality is very important.
Splitting stereo tracks is an important part of editing audio that gives editors more freedom and control. It lets you make precise adjustments, creative changes, and necessary improvements, all of which help you produce high-quality audio output.
FAQs
Move your mouse over the part of the track you want to split and click. This draws attention to the area, making it ready to be split in any way listed.
Yes, you can undo a split. Use Ctrl + Z (or Cmd + Z on macOS) or Edit > Undo from the menu.
You can choose multiple tracks by holding down the Shift key and clicking on each one. Then, use the split command on all of the tracks you chose simultaneously.
In Audacity, splitting a track is not a destructive process, which means it doesn’t change the original audio’s quality.
The track label can help you determine what kind of stereo track it is. There are two channels in a stereo track: “Left” and “Right.” A mono track will only have one channel, so these labels won’t be on it.
Conclusion
You’ve now learned about some of Audacity 2024’s flexible and powerful ways to split stereo tracks. You are now ready to apply what you have learned. Keep in mind that each method has its benefits. There’s a way that works for you, whether it’s the quick keyboard shortcuts, the detailed menu bar options, or the right-click split.
Imagine how satisfying it would be to smoothly adjust and balance your sound, how creative it would be to give each channel its own effects, and how professional the result would be. These are not just possibilities; they are real things you can reach.
Remember that learning these techniques will improve your current projects and give you the skills you’ll need for more advanced audio editing. Mastering these basic steps in Audacity 2024 is the first step toward becoming a great audio engineer, whether you want to do professional sound design or careful audio restoration.
For more insights, tips, and in-depth tutorials, visit AudacityGuide, your ultimate resource for all things Audacity. Dive deeper into the world of audio editing and keep enhancing your skills. Happy editing!