Fade In and Fade Out Audio in Audacity Guide: Have you ever been enthralled by how sounds flowed together in a podcast, song, or audiobook? Often, this magic comes from a fade in and fade out that is done well.
If you want to be a pro at editing audio, you must learn to fade in and out. It’s not just a skill; it’s an art form that can make your audio projects sound like a pro-made them. If you want to make your podcasts or music sound better or just like to play with audio editing, learning to fade audio in Audacity can help you do it better.
Imagine being able to make a sound that slowly draws people in, keeps their attention, and then makes them feel like the story is over. Audacity is free, open-source software that audio fans worldwide love. You can do all these things if you know how to use it.
Are you ready to learn this important skill? This guide will show you how to fade audio in and out in Audacity. You’ll learn the steps you need to take and the tricks you can use to make your sound stand out. Start making your audio projects into mesmerizing sound experiences right away!
On this page, you’ll learn about the following:
Step-by-Step Guide: How to Use the Fade-In Effect in Audacity
Adding a fade-in effect in Audacity is easy and can make your audio projects sound more professional and give them more depth. With the help of these clear steps and pictures, it’s easy to add a fade-in effect.
Step 1: Open Audacity on your computer to begin.
You can get Audacity from the official website for free if you still need Audacity.
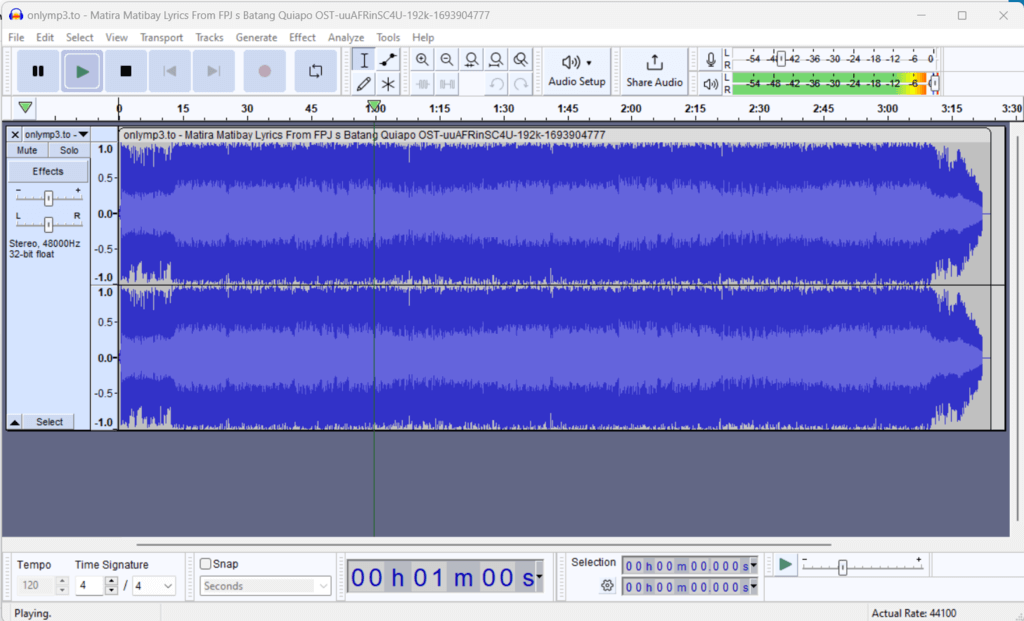
Step 2: Bring in your audio file.
In Audacity, click “File” in the top menu and then “Open” to add your audio file. You could also drag and drop the audio file into the Audacity window.

Step 3: Choose the area where you want to use the fade-in.
To choose the part of your audio where you want to add the fade-in effect, click and drag your mouse. At this point, the volume will slowly start to rise. Make sure the area you’ve chosen starts at the point where you want the fade-in to begin.
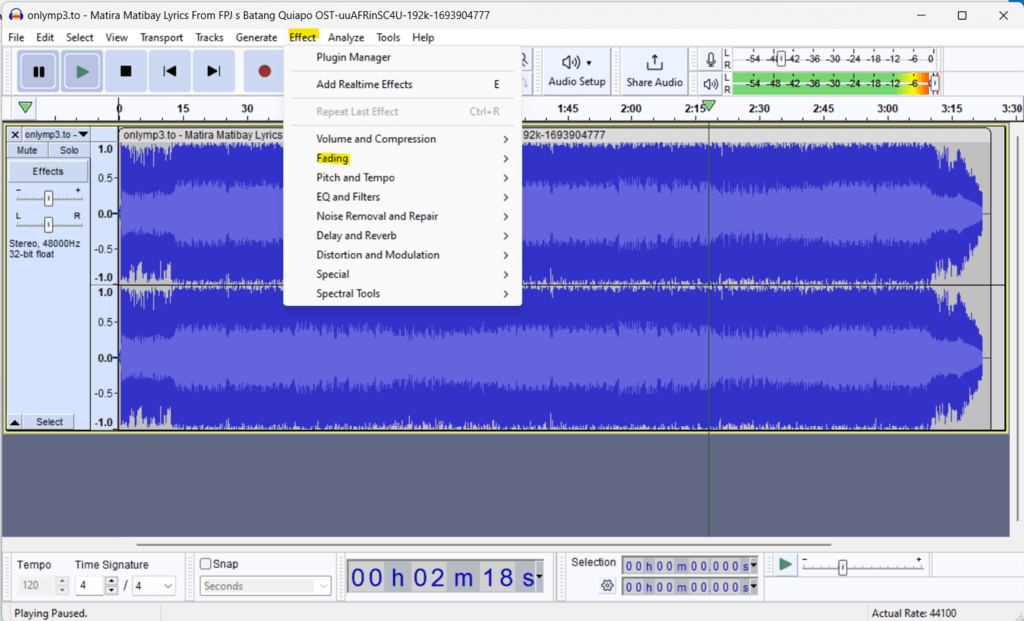
Step 4: Go to the “Effect” menu.
At the top of the Audacity window, find the “Effect” menu. It will appear when you click on a drop-down menu with different sound effects.
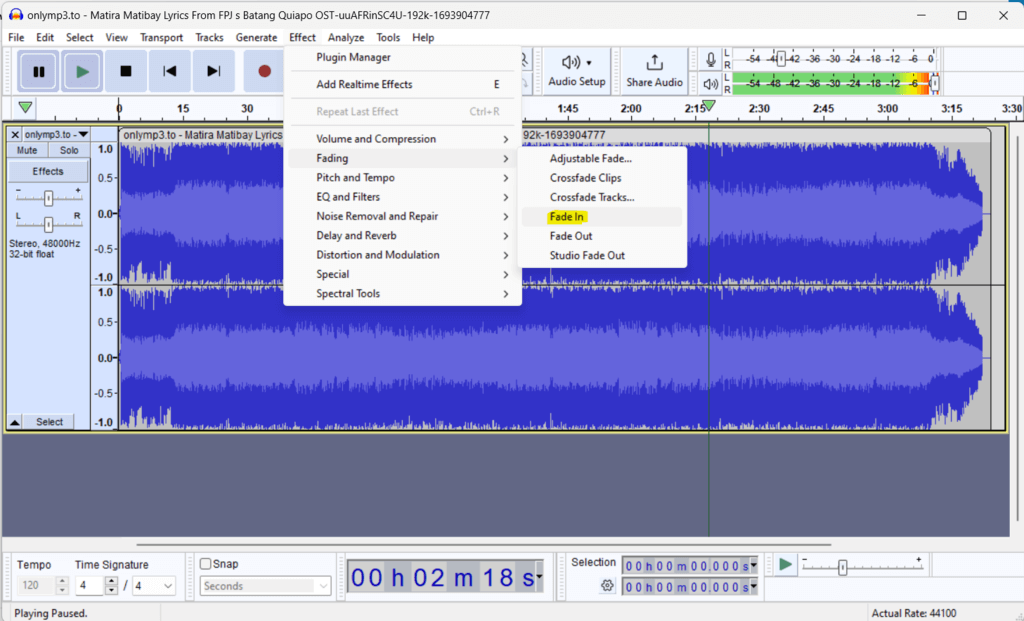
Step 5: Use the fade-in effect.
Pull down the “Effect” menu and choose “Fade In.” This action will automatically add the fade-in effect to the area you chose.
Step 6: Look at the End Product.
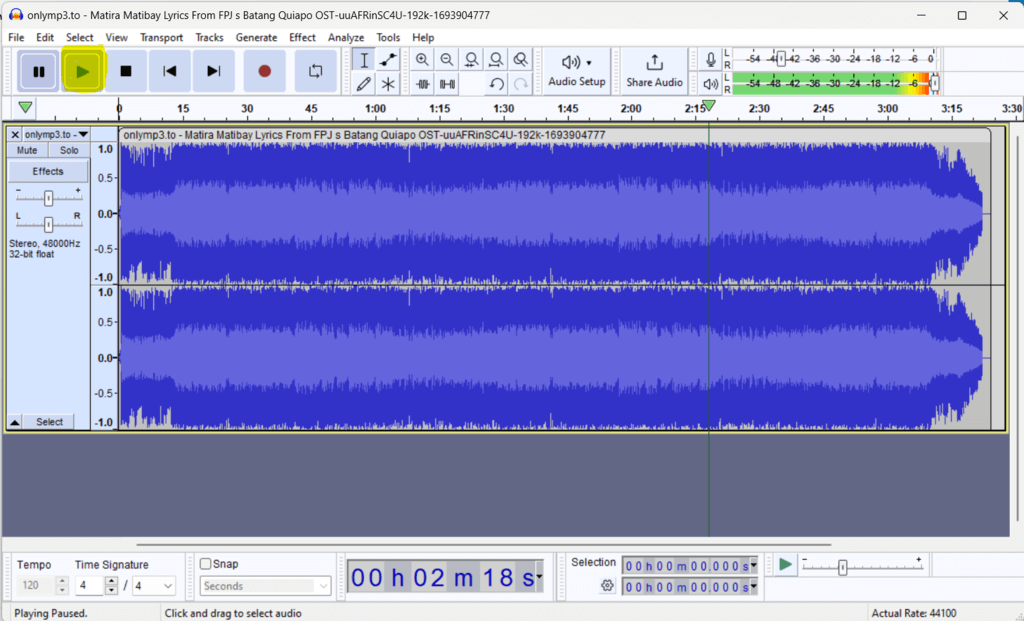
It’s a good idea to see what the effect will look like before you apply it. The transport toolbar controls are at the top of the Audacity window. To listen to your audio with the fade-in effect, click on the play button in that bar.
Step 7: Save the audio
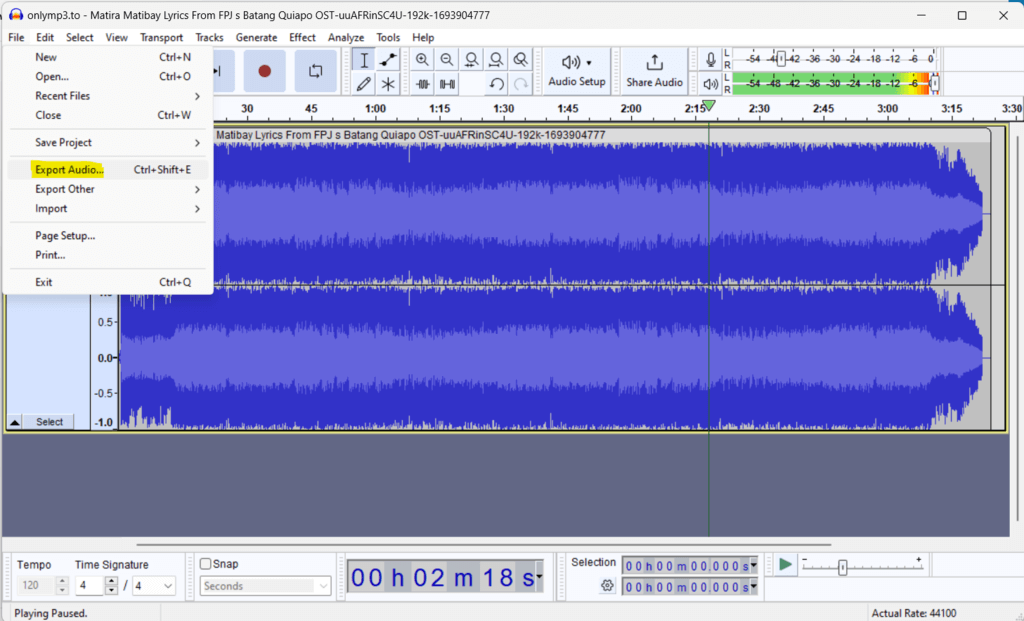
When you are happy with the fade-in effect, click “File” and then choose “Export” or “Export as MP3” or the audio format you want to use.
Voila! You’ve successfully used Audacity to add a fade-in effect to your audio. This gradual rise in volume at the start of your audio can make it more enjoyable to listen to and give your projects a professional look.
You can try out different fade-in times and look into the other audio editing tools Audacity provides to improve your sound.
If you want to see the process in action, you may check out the video below.
Let us move on to how you can use the fade-out effect.
Step-by-Step Guide: How to Use the Fade-Out Effect in Audacity
Using the fade-out effect in Audacity can help you make professional audio transitions, following these detailed steps to add a fade-out effect to your audio file using Audacity.
Step 1: Open Audacity. Open Audacity on your computer to start. If you still need Audacity, you can get it for free from the official website (https://www.audacityteam.org/).
Step 2: Bring in your audio file. In Audacity, click “File” in the top menu and then “Open” to add your audio file. You could also drag and drop the audio file into the Audacity window.
Step 3: Choose the area where you want to use the fade-out. To choose the part of your audio where you want to add the fade-out effect, click and drag your mouse. This is the part where the volume will slowly go down. Ensure the area you’ve chosen ends where you want the fade-out to begin.
Step 4: Go to the “Effect” menu. At the top of the Audacity window, find the “Effect” menu. When you click on a drop-down menu with different sound effects will appear.
Step 5: Add the fade-out effect. Pull down the “Effect” menu and choose “Fade Out.” This action will automatically add the fade-out effect to the area you chose.
Step 6: Look at the End Product. It’s a good idea to see what the effect will look like before you apply it. The transport toolbar controls are at the top of the Audacity window. To listen to your audio with the fade-out effect, click on the play button in that bar.
Step 7: Change the length of the fade-out (optional). For more control over how long the fade-out effect lasts, click and drag the edges of the fade-out area in the audio track. It can be lengthened to make the fade-out last longer or shortened to make it go by faster.
Step 8: Save the audio you’ve changed. When you are happy with the fade-out effect, click “File” and then “Export” or “Export as MP3” or the audio format you want to use to save your changes.
Thats it! You’ve successfully used Audacity to add a fade-out effect to your audio. Adding effect in volume at the end of your audio can give your projects a professional, polished look.
You can try out different fade-out times and look into the other audio editing tools Audacity provides to improve your sound.
Tips for Getting Professionally Smooth Audio Fades
Making audio fades that are smooth and look professional can make the quality of your projects much better. Here are some tips and tricks from professionals that will help you make fades that look smooth in Audacity or any other audio editing software:
Know what the point of fades is:
Think about why you want to use fades before you do it. Fades can be used for many things, like getting rid of abrupt audio starts and stops, mixing music or sounds, or adding artistic transitions. Your fade choices will depend on what you want to do.
Use the Right Kind of Fade:
There are different kinds of fades in Audacity, such as exponential, logarithmic, and linear fades. Try these choices out to see which one works best for your project. Logarithmic fades, for instance, make music transitions smoother most of the time.
Change the fade curves:
You can change the volume rate during the fade in Audacity by customizing the fade curves. A gradual curve can make a fade look more natural and less noticeable. In the “Effect” menu, choose “Fade Curves” to change the curve.
Check Out Your Fades:
Always check out your fades before you make them official. This helps you make sure the transition sounds good and fits the needs of your project. Change things as needed to get the effect you want.
Put fades in between audio clips:
Use crossfades to make mixing different audio clips or tracks smooth. Crossfades are made by putting the audio from two clips on each other and slowly turning down the volume of one while turning up the volume of the other. This method keeps transitions from being too sudden.
Be consistent:
Being consistent is very important for professional audio. Ensure that the fades’ length and curve stay the same throughout your project unless changing them on purpose is necessary for artistic reasons.
Set auto-fades for volume control:
Automate fades in your digital audio workstation (DAW) to change the volume of certain audio parts. This is helpful for podcasts and narration because it lets you highlight certain parts or lower background noise.
Be very accurate:
Use the zoom tools in Audacity or your DAW to closely examine the sound waveform. This lets you place and change fade points precisely. A small mistake in where the fade starts or ends can ruin the quality of the transition.
Use Keyboard Shortcuts:
Learn how to use the keyboard shortcuts in your audio editing software to make fade adjustments faster and more accurately. This can make your work go a lot faster.
If you follow these professional tips and tricks, you can make great audio fades and improve the quality of your projects.
Creative Uses of Fades
Fade-ins and fade-outs are important tools for audio editors because they let you be creative and improve your projects’ storytelling and emotional impact. Now, let’s look at some creative ways to use these methods:
1. Creating Dramatic Intros and Outros: Use a fade-in to play a mysterious or suspenseful background score slowly, which sets the mood for an exciting story. Before the main melody starts, add some background noise or soft instrumentals slowly at the beginning to get people excited.
2. Transitioning Between Audio Clips: A fade-out of one track can blend into a fade-in of the next to make smooth changes between segments or songs.
3. Creating Atmosphere— Soundscapes: To create an immersive atmosphere, you can fade in sounds from the environment, like rain, wind, or city noises. For theatre production, audio fades can go well with lighting and set changes to improve the mood.
5. Experimental Audio Art- Layering Effects: Try putting fades of different sounds on each other to make a more complex and textured soundscape. For interactive audio, fades can change based on what the user does in interactive media, like video games, making the experience more realistic.
6. Technical Enhancements – Noise Reduction: At the end of a recording, gradually fade out to hide any background noise or interference you don’t want to hear.
7. Explore Fades: Be bold and try different fade lengths and styles to see what works best for your project. The best fades are often the ones you overlook immediately but make the whole listening experience better.
FAQs
Yes, the length of the fade is determined by the portion of the track you select. A longer selection will result in a longer fade and vice versa.
Yes, you can apply fades to multiple tracks simultaneously. Select the desired sections across different tracks and apply the fade effect as needed.
While Audacity has built-in fade-in and fade-out effects, accessible through the ‘Effect’ menu, you can try the Nyquist plugin. It allows arbitrary fades (in and out) and level adjustments of a selection without using the envelope tool.
You can easily undo a fade using the ‘Undo’ function (Ctrl + Z on Windows or Command + Z on Mac) or manually adjust the volume levels back to their original state.
You can explore Audacity’s official documentation, online tutorials, or community forums where experienced users share tips and tricks.
Conclusion
Fade-ins and fade-outs are crucial to audio editing. In addition to changing the volume, these methods improve listening, smooth transitions, evoke strong emotions, and demonstrate professionalism. Mastering fades in Audacity can make a simple audio clip look professional and interesting.
Fades can create dramatic intros and outros, smooth clip transitions, reduce noise, and improve technical aspects. If you use fades well, your podcasts, music, and other audio projects will sound more professional. Remember that fades are artistic because they change things without being too loud, guiding the listener’s experience.
Do you want to enhance your audio editing skills? Take the plunge into creative audio editing with AudacityGuide, and let your fades tell a story that captivates and resonates with your audience.